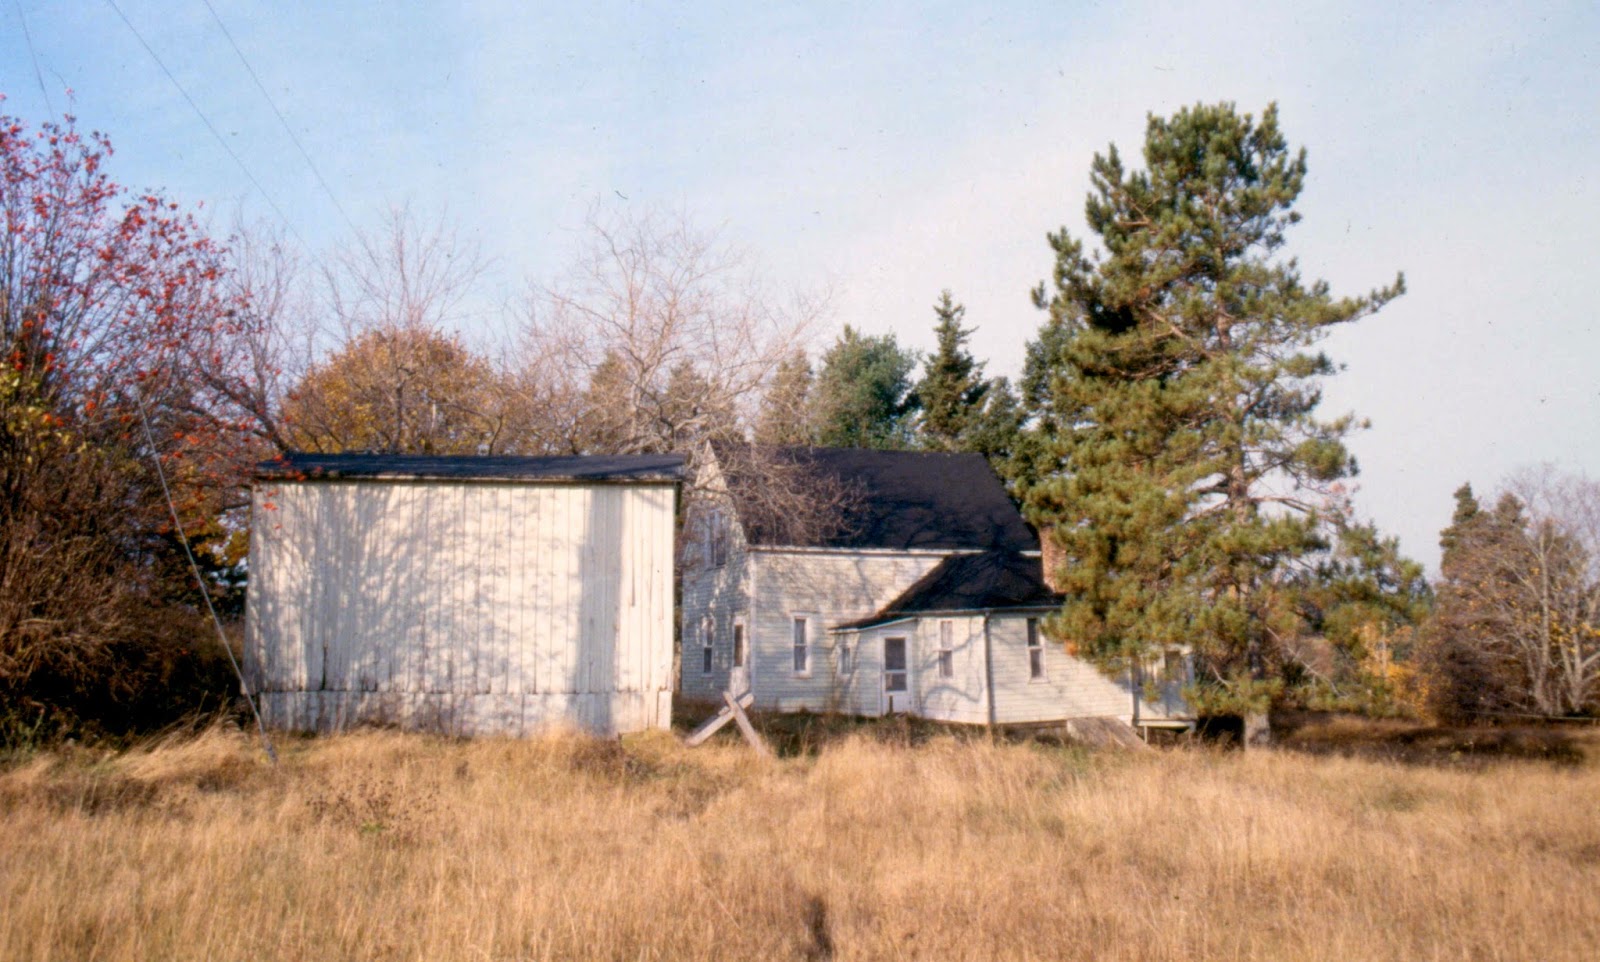
I am on the hunt for a General Contractor who can manage some of these projects and coordinate the various trades. One such project that needs some coordination is the second floor. Back in 2011 when Mom and Dad were getting ready to move in, I had to pull the plug on some aspects of the project to get others done, because they were suddeny moving in sooner than I anticipated. Finishing the second floor is one of those projects that I had to cut loose.
Back in 2010 when the project began, the first task was to remove plaster and lath. The dumpster was set up in the front of the house, and the natural place to start the ripping and tearing was the second floor, and work our way down. So the upstairs bedrooms were the first to be cleaned out, and now will be the last spaces to be finished. I remember how nervous I was, as we were about to start the destruction. What was I doing to Grammy's house!!! I'm sure everyone else was nervous as well, and going on trust that I knew what I was doing and that it was going to be OK. In fact, I know I stretched Dad's confidence in me when we all started attacking the place. I was thinking, is this the right thing to do? What if we can't get it done? What if the house falls down? What if we wreck the place and the project doesn't go ahead? Although I spent a year negotiating with banks, I still didn't have financing in place yet. If that fell through, the demo would have been as far as we could have gone. But I was determined to push the dream forward, and willed it into reality (a little side story: the bank I was negotiating with ultimately rejected me because I wasn't a resident of Canada, and I had to scramble to find an alternative, and I found another bank who did accept my situation and I got the papers signed just the day before I came back to Lincoln. It was a very close call!).
Below is a recap of the demolition on the second floor

A dark and blurry picture of the west wall of the back bedroom just as we were getting started, June 28th, 2010.

Shoveling debris out the window into the dumpster


The back bedroom cleaned out

Front bedroom closet


Chimney is gone


Chimney bricks, later reused for walkways in the yard


So now what?
The front bedroom was very bright and sunny, facing south, and the back bedroom was quiet and shady, with a view of the river and waterfalls. Thats my favourite room in the house.
The little stair hall had the red glass window that allowed second hand light in from the back bedroom. Dad removed the pane of glass and we have it safely tucked away to be reinstalled when the space is finished. The banister is about the only thing in the whole house that remains in its original location, untouched by all the work.
The roof was insulated with closed cell foam which has a very high R value for insulation, and does not require a vapour barrier. The ceilings in both bedrooms were completely removed and will not be reconstructed. The rough hewn King Post Trusses of the roof will be left exposed in the bedrooms and the roof will be drywalled to the peak, and painted. Ceiling fans will be installed on the bottom of the middle trusses, and with the high volume, this will make the rooms very comfortable during the hot humid nights of summer. Also, with all of the insulation, the rooms will be a lot more comfortable.
The wall between the bedrooms used to go only as high as the ceilings. The chimney went through the back bedroom against this wall. With the chimney and ceilings gone, there wasn't much left of this wall so it was completely removed and reframed to the peak in the same location. The original wide plank floors are still there and will be repainted.
Now for the fun part, colour!
As I mentioned, the front bedroom was always light and airy, so I want to carry that on with the colour scheme. The paint will all be Farrow & Ball, as is all of the paint in the house. It has a lot more pigment than other paints, and changes colour depending on the time of day, the weather, and how the light hits it. The trim will be Blackened, as it is in the rest of the house. The walls will be Lamp Room Gray. Like Blackened, it is a colour to match soot from kerosene lamps, only worse. We tried it here in Lincoln in our dining room and it is actually a very light and cheery blue, see below.

As I mentioned, there is no ceiling, but the angled walls on the east and west sides will meet at the peak and count as the ceiling, and will be painted Skylight, a white with a blue tinge, the same as the rest of the ceilings in the house. The floor will be Cornforth White, a white with a warm gray undertone. All in all, pretty much a white-on-white colour scheme with a blue vibe. Bright but soft. Below are all of the colours together. They look quite dark here but trust me, they will be very bright when in the room.

Trim: Blackened

Walls: Lamp Room Gray

Ceiling: Skylight

Floor: Cornforth White
The back bedroom is where I'm going to get bold with colour. I want that room to be a little dark and moody. The trim, "ceiling" and floor will be the same as the front bedroom, but the walls will be Olive, my favourite colour. The Cornforth White floor will bounce light onto the walls, and the room will seem like its lit from below. Below are the colours together.

Trim: Blackened

Walls: Olive

Ceiling: Skylight

Floor: Cornforth White
Last, the stair hall. It is a dark space with no windows other than the red glass window to the back bedroom, so I wanted something bright here. I really like the colour of the Dining Room, and we have a lot of that paint left over from when I painted it last March, so I want to paint the walls the same colour, Farrow's Cream. You can see in the photo below from last July how light and airy it is.


Walls: Farrow's Cream
The trim and stair risers will be Blackened...
...the ceiling will be Skylight...

...and the stair treads and floor at the top will be Railings. This is the same colour as the stair treads at the stairs to the basement, with Blackened risers. The contrasting colours makes seeing the stairs much easier to see and safer. Below is a photo of the stairs to the basement to show you what I mean.

So thats pretty much it for the second floor. There are other projects with higher priority, and I don't see this getting done this year, but hopefully next summer I'll be painting these rooms.
PS: the new trim, described in Project #1, arrived at the house today. Once thats up, the main floor will be a lot closer to being done.